
Quick start
Add a VPN monitor, run a live test, and read the first result. It takes about five minutes, and you don’t need the API or the CLI.
Add your first monitor
Section titled “Add your first monitor”-
Open Monitors and click Add monitor.
In the dashboard, go to Monitors in the left sidebar and click Add monitor in the top right. On mobile, the button is in the header.
-
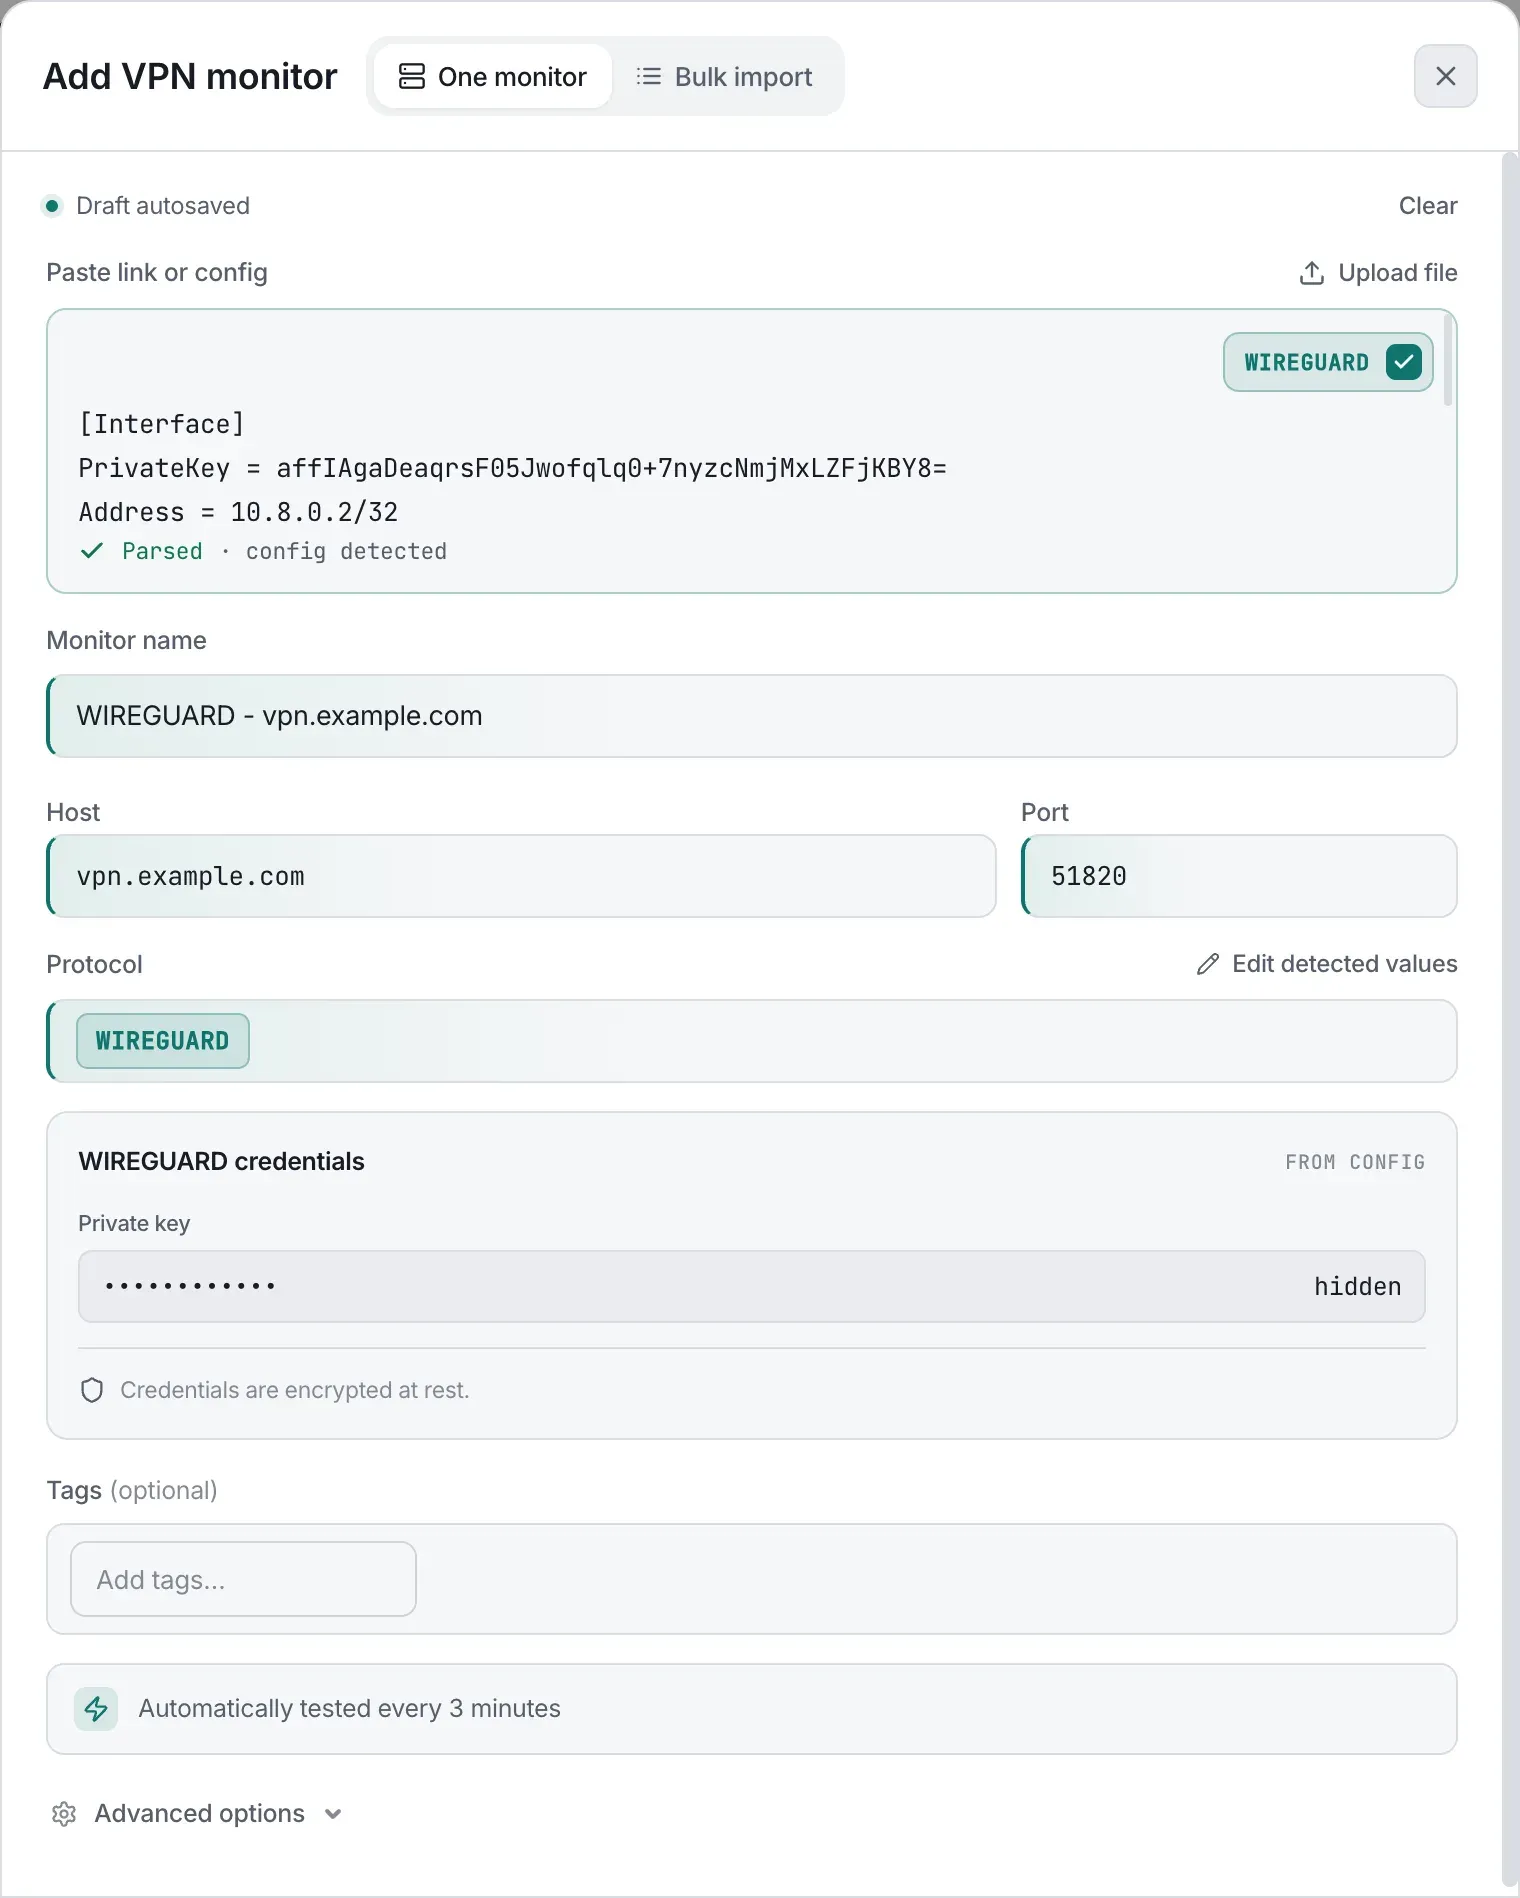
Paste a config, or enter the details by hand.
The fastest way is to paste a config or share link into the box at the top. TunnelHQ detects the protocol and fills in the fields. To type the details instead, click Enter details manually, choose a protocol, and fill in the host, port, and any credentials. VPN protocols lists the fields for each protocol.
-
Choose where to test from (optional).
A monitor tests from Any location by default, and TunnelHQ picks a checker for you. On Pro and Business, the Test from region field adds one specific location, where the first check runs. The monitor is saved with Any plus that location. To add more locations, use the monitor’s Locations panel after saving. See Locations and status.
-
Save.
The monitor shows Pending until its first check finishes. If the check passes, it shows Healthy, with a latency reading. If it fails, the monitor shows Unknown while it retries, and Down if the next check fails too.
A new monitor runs every 3 minutes, or at your plan’s fastest interval if that’s longer (Free: every 10 minutes). You can change the test interval in the monitor’s settings.
From then on, TunnelHQ checks the monitor on your schedule, records every heartbeat, and opens an incident when it starts failing.
Run an on-demand test
Section titled “Run an on-demand test”To check a monitor without waiting for the schedule, open it and click Run Now. On the Dashboard, Run visible tests re-checks every monitor currently in view.
On-demand tests don’t affect scheduled checks. They count separately against your plan’s test quota.